This isn’t a DIY post. Mainly because: a. I did not have the foresight to take an adequate “before” photo and b. I am terrified of bleach and ruining all of my possessions, so I did not take any process photos. However, it is a lesson in how frames can really impact a piece.
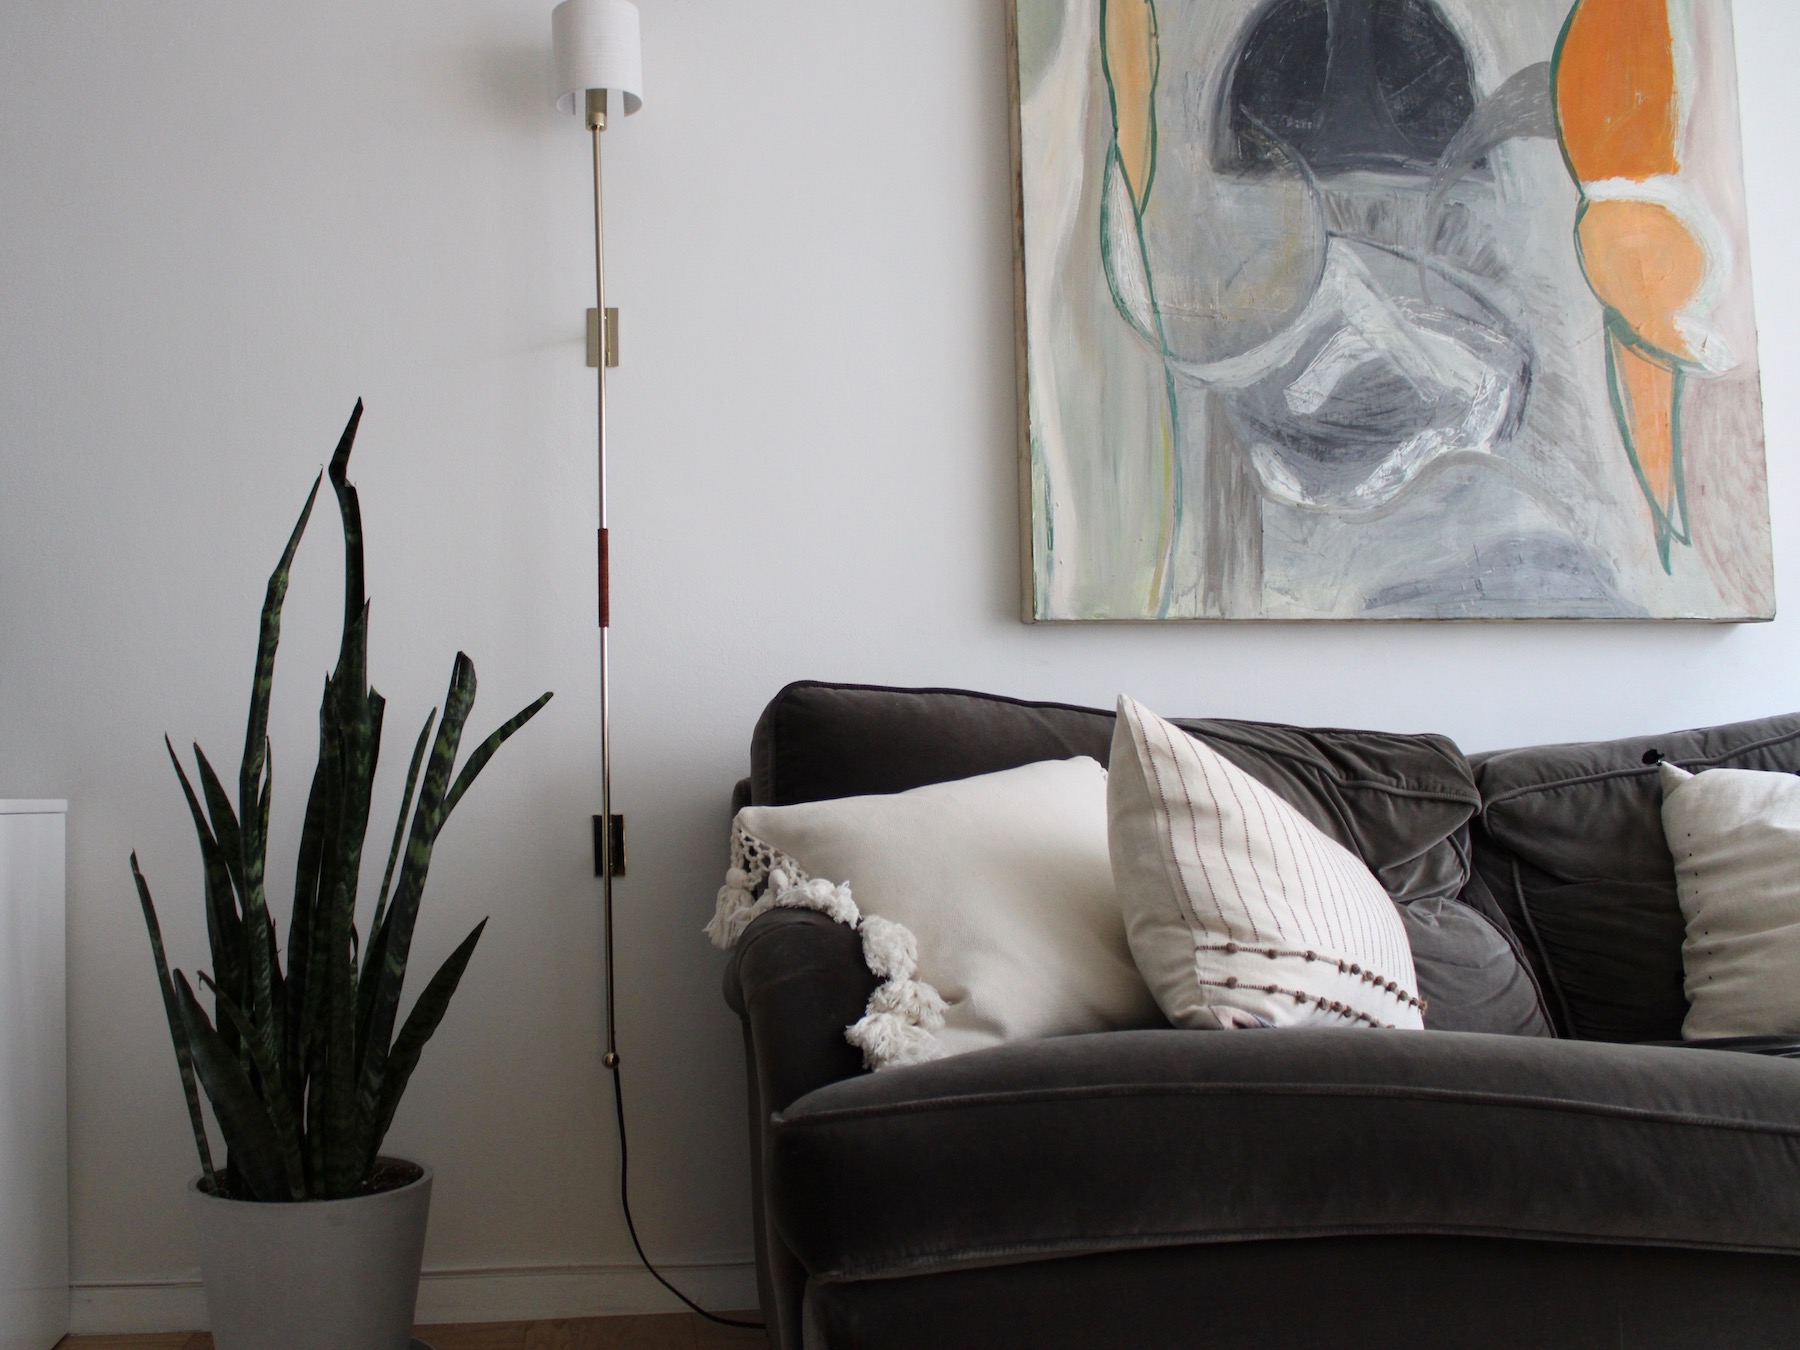
I had been trying to figure out all the logistics of getting a large scale piece of art for above my sofa. First, in just finding one I like for less than a million dollars (I was going to go the printable route), and then getting a frame for it, having it all arrive in my apartment, etc. The very next day (I swear, the very next day), I just happened upon this enormous piece of original art in my building’s garbage room. It was maybe a little dusty, and I don’t know if color-wheel orange is really my first go-to color, but it was serendipitous. So, I walked that puppy up to my apartment and never looked back.

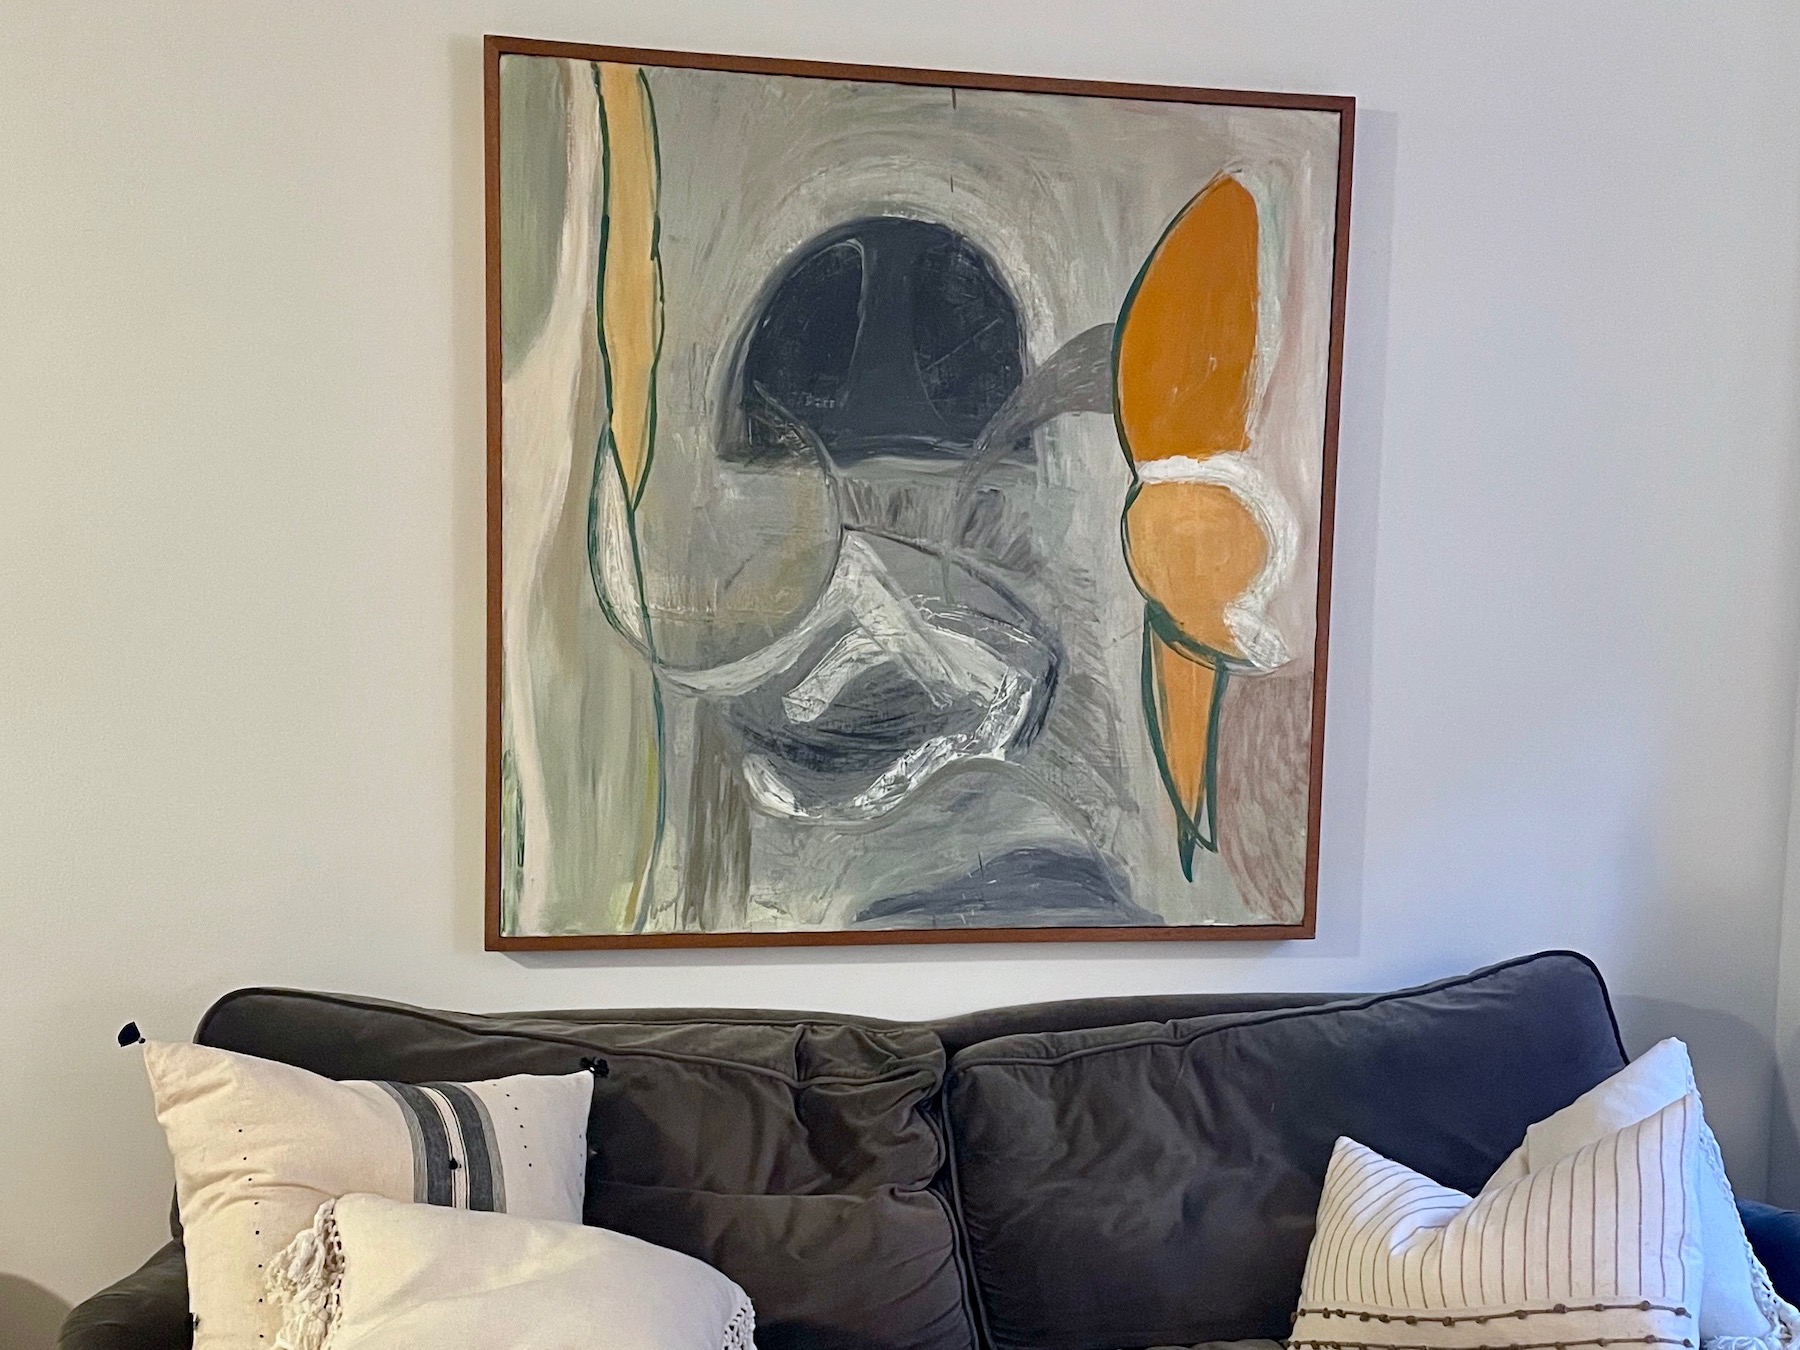
It did have a pretty heavy-looking orange-toned wood frame that I think was really dating the piece. So, after living with it for a while, I decided I would try to pry the frame off. It was nailed into the canvas, and covered over with wood putty for almost 40 years, so, needless to say, it took a little effort to get it off. But, the second it was off, it immediately changed the whole feel of the painting.

I considered leaving the frame off (there’s a note written by the artist with the dimensions on the side – which was a fun surprise), but I knew I would like it better with one. Living in an NYC apartment, access to lumber and power tools to build a new frame wasn’t really in the cards, so my goal was to work with the existing frame.
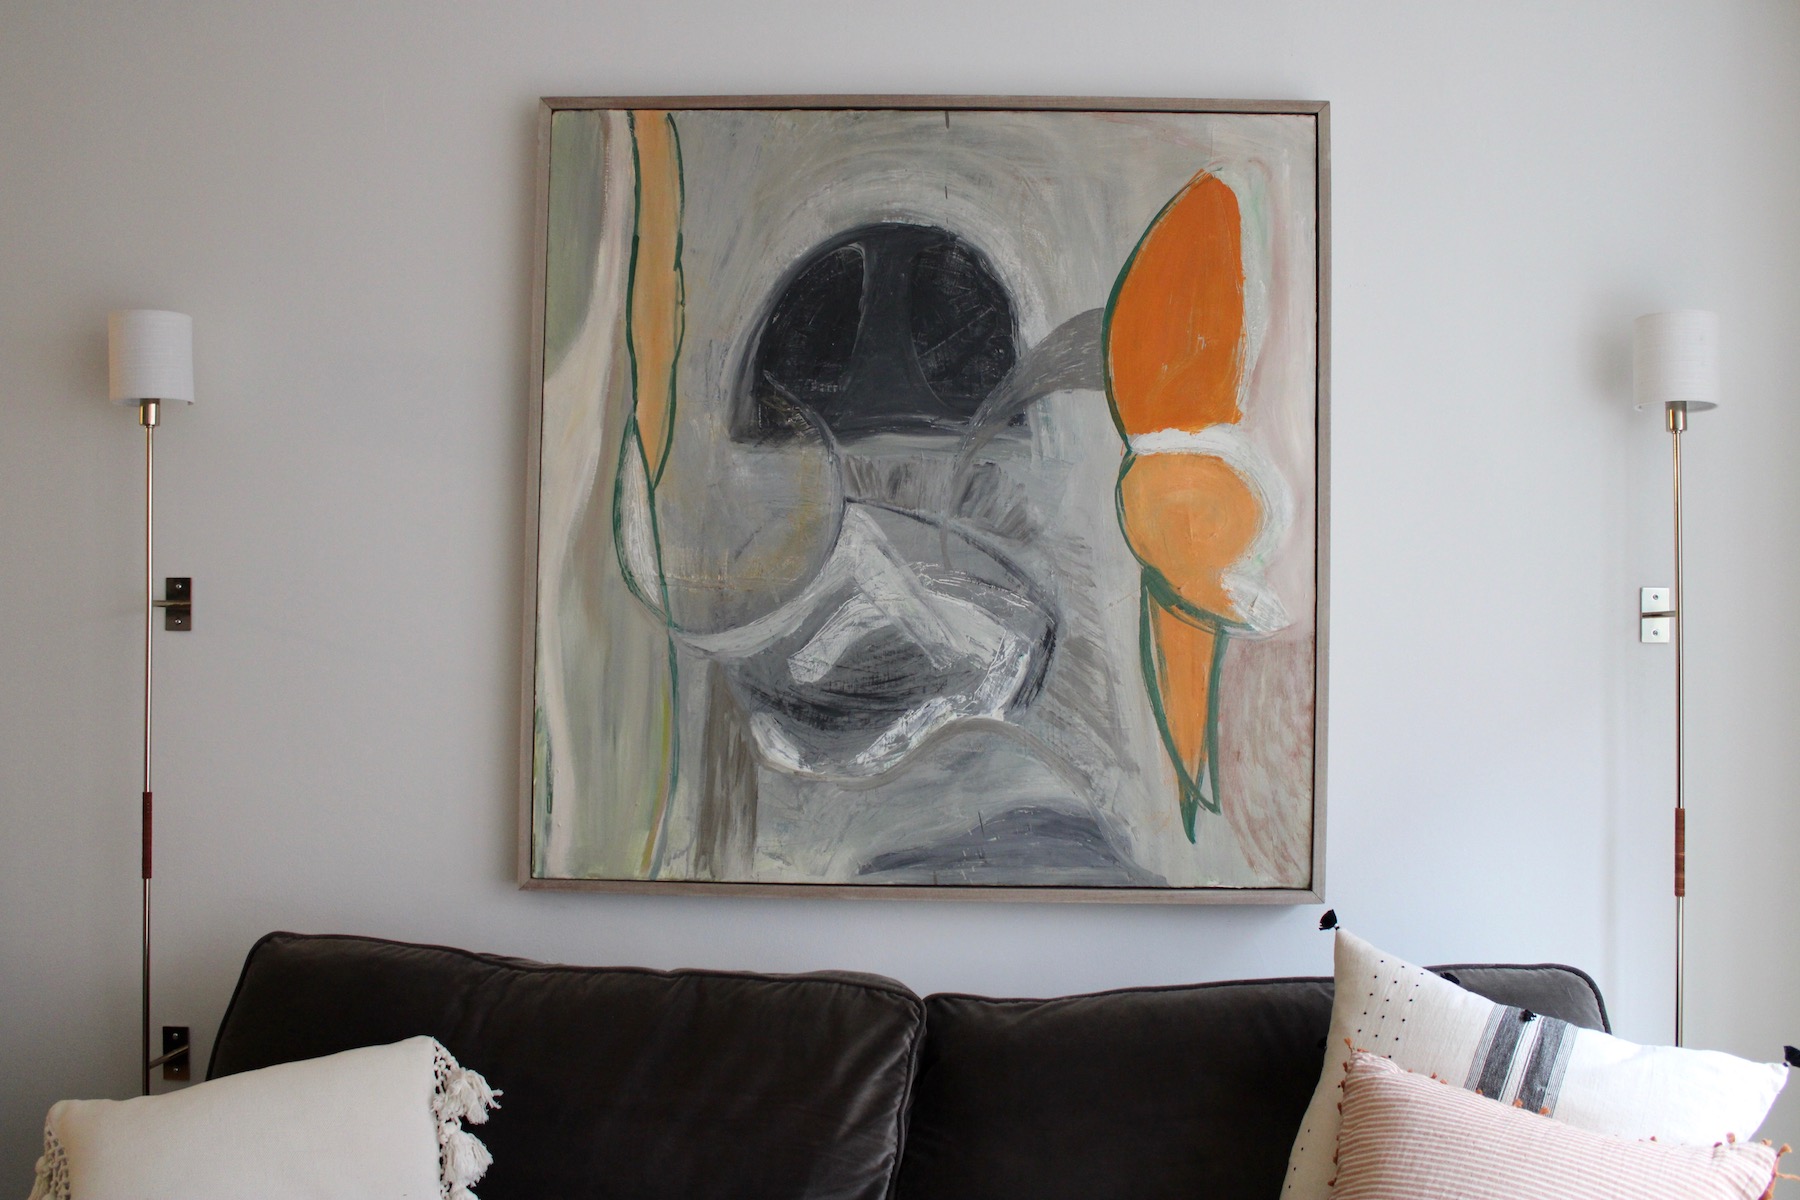
Since I don’t have great ventilation, I didn’t want to strip the frame in my apartment. I wanted a lighter frame so staining it seemed out of the question. Which is to say, I was pretty set on painting it, and even went so far to pick up some paint chips from Home Depot. But, then I had the thought to bleach it. I could tell there was no sealer on the wood, so, it seemed like something I could gamble with, and the worst case scenario was that if it didn’t work out, I would just end up painting it. Spoiler….it worked beautifully.

There were a few tutorials that I looked at for bleaching wood furniture, but, essentially, after filling in the nail holes with some wood putty, I just took plain ‘ol Clorox and a rag, and wiped it on the piece every couple of hours for a weekend. It did take a LOT of coats (maybe 10?!) for me to get it to a color I was happy with. At first it was very splotchy and I was convinced I would have to revert to the paint plan, but, I stayed the course, and I am THRILLED with the results. I just wiped it down with white vinegar and then plain water when I was done, and voila. (The wood putty didn’t bleach as well, so, I took a little bit of craft paint I had, mixed an approximate color, dabbed the tiniest amount of paint on the wood filler, and it blends right in).

I suppose the ONE thing I would change is that I would like a sheen on it, but, with the limited ventilation in my apartment, it didn’t seem like I should be introducing any sort of varnish or clear top coat. And since it’s on the wall, it doesn’t really require any protection. Oh, and since the frame fits the painting so perfectly, I just slid it on, no nails needed.
All in all, for something that cost me a bottle of Clorox (okay, and some rubber gloves), the results are exactly what I was looking for and completely transformed the whole look of the piece. Now I think it’s perfect and can’t imagine this wall without it.